Now we get to start adding actions to our objects. Yeah! First you will need to reload where we left off. You should have Sprites, Objects, and your Room set up. Our objective is to move the bat left and right with the left and right arrow keys.
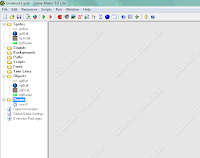 |
| Set up from Part 4 |
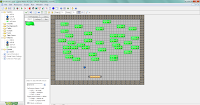 |
| Room from Part 4 |
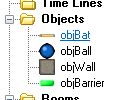
You can view the Room from part 4 by double clicking on the room and displaying it on the screen. We are going to set up actions for our Bat. If your objects aren’t expanded, click the plus to the left of objects.
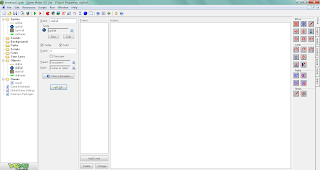
When we double click on objBat we will see the object properties for the Bat. To the left is the basic properties, Middle is the key action we are working with, and the right are actions that we can assign to those keys.
We will start by adding an event to the left arrow key. Click on Add Event at the bottom of the middle section.
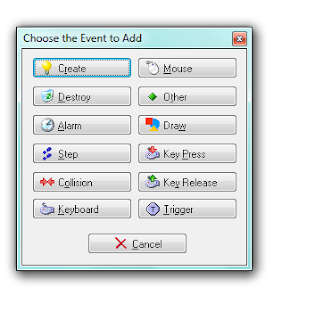
This will bring up a menu to choose the event to add. (What key press will trigger the action)
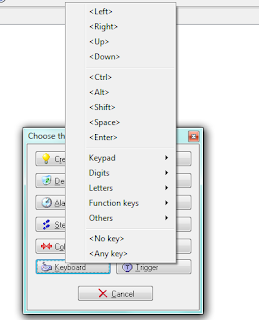
For this we want to choose Keyboard-Left.
The keyboard left will be added to the middle section. This is the left arrow key on your keyboard.
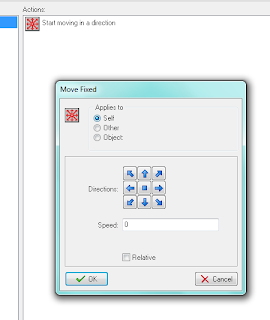
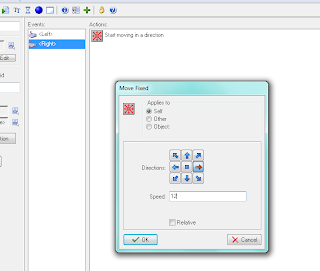
We then have to add an action using the move fixed. This is the top left icon. It will start an object moving in a defined direction. To add the action to the trigger, left click on the icon and drag it to the actions section of the screen.
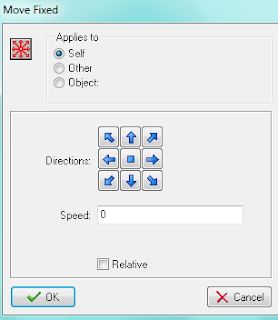
The menu to define properties for Move Fixed will then be displayed.
We will leave set to Apply to Self. We need to set a direction to move and a speed. In this case our object needs to move left. So we will choose the left arrow.
Set the left direction. Then set the speed. I’m choosing 12 in the example.
We will then need to set an action for the keyboard right also.
We will set the actions the same, but will choose to move right instead of left when setting the arrow actions.
After setting the Keyboard left and right give your programming a test run. To run your program choose the green arrow in the toolbar at the top:
Try moving the bat left and right to see what happens.
Did the Bat stop? If not we need to add an action to stop the bat….
For this we’ll add an event: Key Release.
If we choose any key we can use one action for both right and left, as opposed to defining a separate action for each direction.
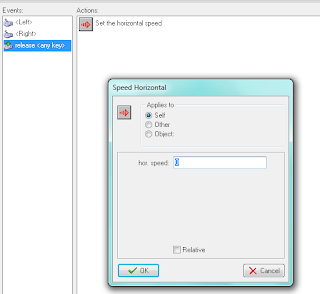
In this case we are going to choose the move horizontal action.
To add move horizontal we left click and drag the icon to the actions portion of the screen. The properties menu will come up. In this case we want to leave the values that default (Speed 0, operates on self).
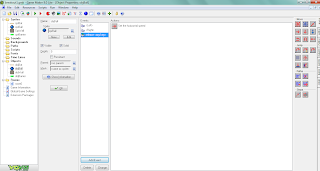
We should now have events for the left and right key on the keyboard and an event for the release of either key.
Give it a try and see what happens. If you need to edit an action you can right click on the action and choose Edit Values to make changes (speed direction and so on.)
After you finish for the day make sure and save for next time. We’ll finish up the actions next time, then just have scoring left for our basic game. Game Maker lets you also compile and share with your friends so after we have our basic game we’ll look at adding to our game including adding our name and more…









 I am a SAHM/WAHM of three boys ranging in age from 13 to 29. We are working on saving enough for college at the same time as dealing with school and our older independent kids. I author a few blogs, including http://teched4kids.com. I have in the past taught computer information technology classes for the local university and taught workshops for kid's in technology education besides being the Kentucky State FIRST LEGO League Championship Coordinator from 2005 to 2008. I now work as a computer consultant, run a handmade home business, and am available for workshops. Life here is always an adventure!

I added your blog to bookmarksa
This is a problem I must find more information about, many thanks for the blog post.
Incredible post, I must say i expect fresh news from you.