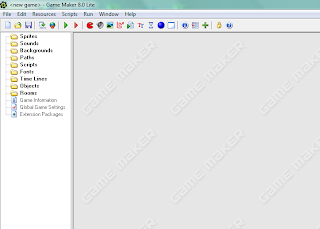
When you start up Game Maker 8.1 you will see a screen like:

We now need to add 4 sprites (graphics) for our game.
For Breakout we will need:
1. Bat
2. Ball
3. Barrier
4. Wall
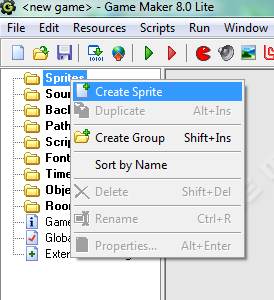
- These will be added as objects in the next lesson and then added to the ‘room’ after. There are several preloaded graphics included with the lite version of Game Maker that we can use. They include some balls, a few bat options, lots of barriers, and a wall graphic. To add a sprite the first step is to right click on Sprites on the left and choose Create Sprite.
Two things need defined for each sprite. The Name and a graphic. In this case we are going to name each item with a name that starts with spr (Following a naming convention) So we will have:
- sprBall
- sprWall
- sprBarrier
- sprBat
Defining the Name:

Next use the Load Sprite button to add a graphic to the Sprite definition. – In this case we are going to choose a Bat graphic.

While choosing a graphic for the sprite you can use the up folder button to move up a folder and double click on the folders to open a folder and move back down.

If you don’t see the graphics (only the names) the icon:

will let you change the settings so that you can see the graphics.

The ball and bat are within the folder ‘Bouncing Balls’, Wall is within the ‘Tutorial1’ folder, and the Barriers are within the ‘Bouncing Balls/Stones’ Folders. Associate a graphic with the sprite and choose OK.
One possible bat:

Go on to create the four sprites needed:

Tomorrow we will associate objects with each Sprite.

 I am a SAHM/WAHM of three boys ranging in age from 13 to 29. We are working on saving enough for college at the same time as dealing with school and our older independent kids. I author a few blogs, including http://teched4kids.com. I have in the past taught computer information technology classes for the local university and taught workshops for kid's in technology education besides being the Kentucky State FIRST LEGO League Championship Coordinator from 2005 to 2008. I now work as a computer consultant, run a handmade home business, and am available for workshops. Life here is always an adventure!

Many thanks for the information, and your web site truly looks good. Exactly what wordpress design are you using?